Summary
Growmatik’s Website Personalizer helps you show each visitor their own version of your website based on their stage, attributes and preferences.
In this article, you’ll learn how to:
- Website Personalizer tool
- Create a new personalization
- Select content on your website
- Add content to your website
- Remove content from your website
- Edit existing text on your website
- Edit content added by the Website Personalizer tool
- Elements in the Website Personalizer tool
- Duplicate existing elements
- Preview your personalization
- Save your personalization
- Edit/remove/rename your personalization
- Automate your personalization
- Locate your personalization in the automation dashboard
Website Personalizer Tool
You can create and manage each website content customization in the Workshop > Personalizations page inside the Growmatik app.
Note: Modifying the page content through the Website Personalizer tool does not affect the original content of the page. The personalizer creates a copy of the page in the Growmatik dashboard and applies your changes only to that instance.

Creating a new personalization
In the Workshop page, choose Personalization from the sidebar menu. Click on the Create Personalization button and select a page you’d like to personalize. Once a page is selected from the menu, you’ll be taken to the Website Personalizer environment, where you can add, edit and hide content on your website as you like.

Selecting content on your website
Hover over different elements on the page to see the pink border around them.

To select an element, simply click on it. The selected element will appear as selected with a thicker pink border.

Note: The Website Personalizer follows the same wrapper structure as the original page. You may need to play around with the cursor to locate the wrapper that includes the element(s) you want to select.
Adding content to your website
1. Select an element on the page where you want to add content.

2. Click on the ![]() icon to open the elements list, then select an element.
icon to open the elements list, then select an element.
Note: The following elements can be added to a personalized page:
- Text
- Blog
- Product
- Button
- Image
- Video
- Social
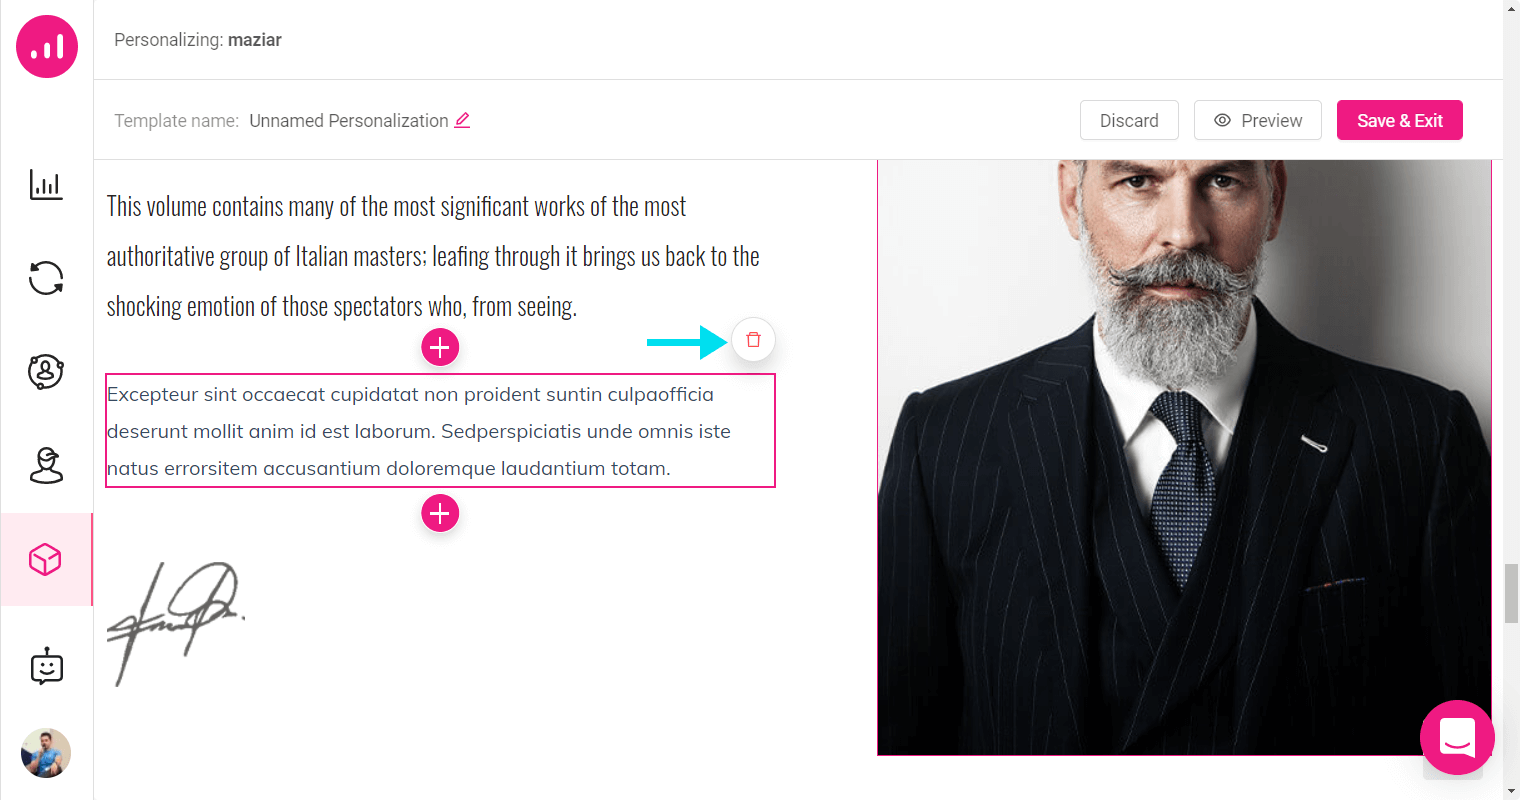
Removing content from your website
To remove an item from the page, select the item and click on the  icon.
icon.
Note: As mentioned at the beginning of the article, modifying the page content through the Website Personalizer tool does not affect the original content of the page. After you’re done with your website content customization, the personalizer creates a copy of the page in the Growmatik dashboard and applies your changes only to that instance.
Editing existing text on your website
- In order to edit existing text on the page, first select it and then double click on it. You can also directly double click on the text to go to edit mode.
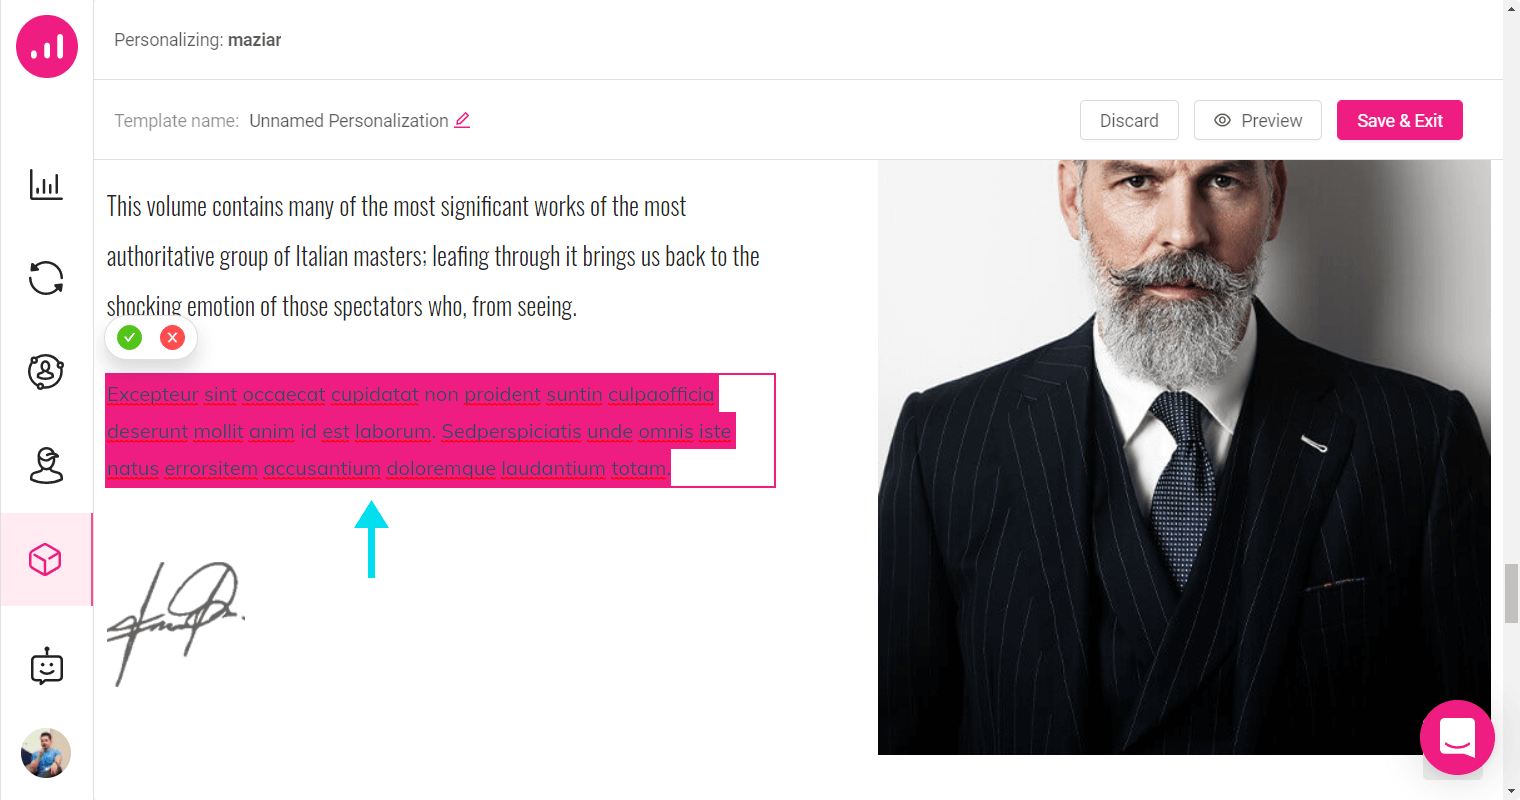
2. Once you are done editing the text, click on the ![]() icon to approve the edits or click the
icon to approve the edits or click the ![]() icon to undo the changes.
icon to undo the changes.

Note: While in editing mode, you won’t be able to edit any items other than the selected item on the page. You need to approve or cancel your changes before editing other content on the page.
Editing content added by the Website Personalizer tool
To edit the content or customize the appearance of an added element, click on it to select it, then click on the  icon to open the element’s settings panel. You can also double click on an element to open its settings panel.

Elements in the Website Personalizer tool
The following elements are available to be added to your personalized page:
- Blog
- Product
- Button
- Image
- Video
- Social
- Text
The settings and customization options for each element are explained below:
Text element

Use the Text element to insert texts to your personalized page. The following options are available for further customization:
- Use
 and controls to apply bold or italic style.
 - Use the color picker
 to change the text color.
 - Click on the link icon to apply a hyperlink to the text.
- Use the alignment options
 to align the text left, center or right.
 - You can personalize content with dynamic keywords in order to do that click on Dynamic Keywords to insert dynamic content inside the text. This dynamic keyword can be based on Personal details (such as first name), Shopping activity (such as total orders value) and Referral (such as UTM source).
Note: Dynamic keywords appear different for each user.
Note: The Daytime dynamic keyword will be replaced with a text according to the time of day:
- From 00:00 until 11:59, the text will be Good morning.
- From 12:00 until 16:59, the text will be Good afternoon.
- From 17:00 until 23:59, the text will be Good evening.
Note: The UTM dynamic keywords will extract the UTM contents of a URL when a user enters your site. The UTM data will then be available throughout the session. For example, when a user enters your site through the following URL: https://yoursite.com/?utm_source=google, the word google will be stored as the utm_source throughout that user’s session. This means that, if you insert the utm_source dynamic keyword in any page through the Website Personalizer tool, the tag will be replaced with the word google. Of course, the text replacement will only occur if the personalization is associated with Growmatik automations rule.
Blog element
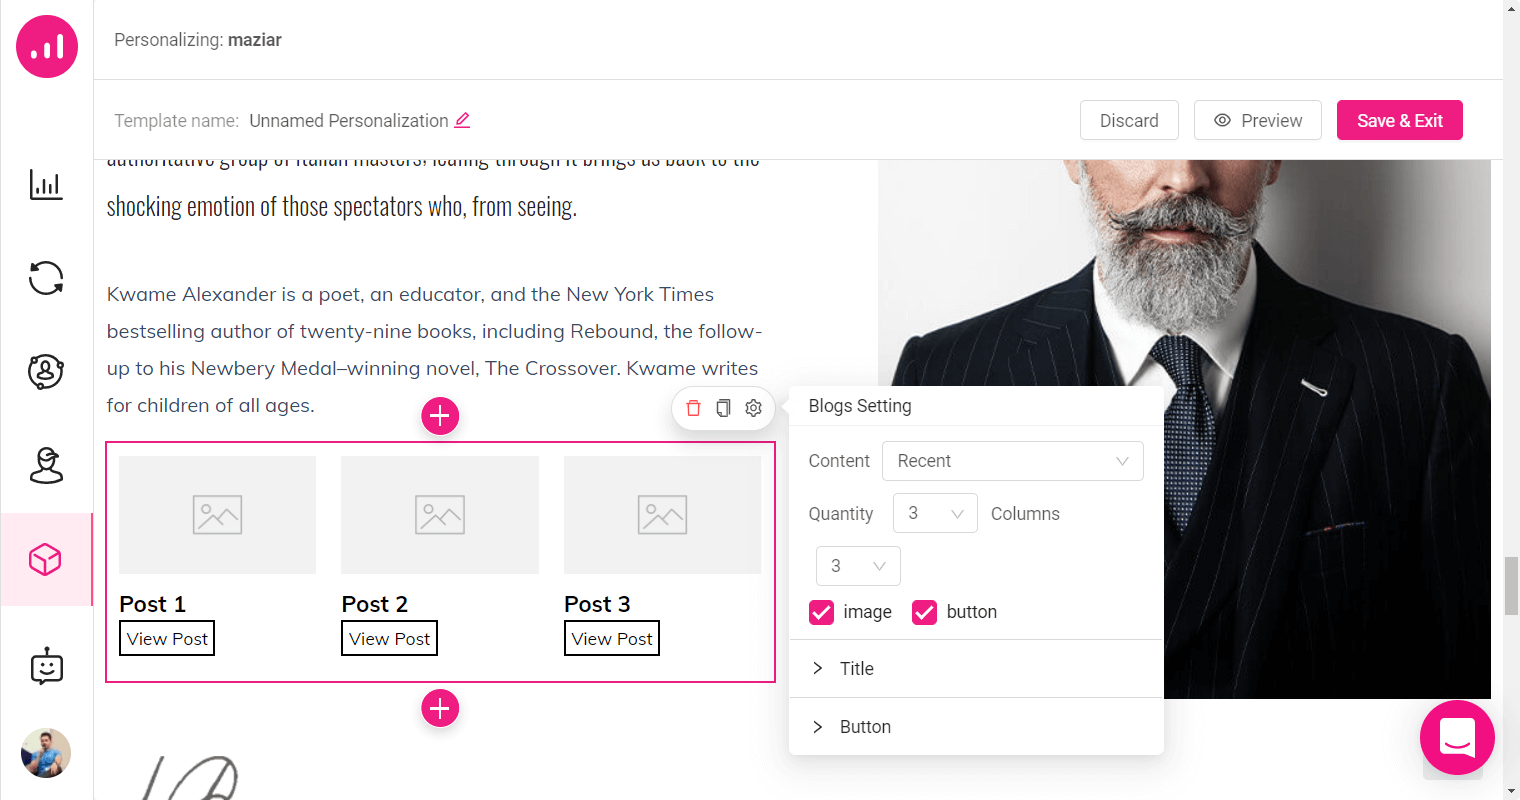
Use the Blog element to display your blog posts in a personalized page. The following options are available for further customization of the Blog element:
- The types of blog loops are as follows:
- Recent shows the most recent blog posts.
- Related shows related blog posts according to each user’s post visits.
- Popular shows the most popular blog posts on your site.
- Posts by ID shows related blog posts according to the blog’s IDs.
- Category shows related blog posts according to the blog’s categories.
- Quantity sets the number of posts to display in the blog loop (up to 6).
- Columns defines the number of columns (up to 3).
- Image shows/hides the post’s image.
- Button shows/hides the View Post button.
- Title, Button sections customize the formatting and appearance of the title and View Post button.
Note: Related blog posts are dynamic content, meaning they appear differently for each individual user. Additionally, the content of this element appears as empty for users who have not visited any blog posts.
Product element

Use the Product element to display products in a personalized page. The following options are available for further customization of the Product element:
- The types of product loops are as follows:
- Recent shows the most recent products.
- Related shows products related to the user’s previous purchases. You can toggle between two options to show related products based on most recent purchases or on all purchases.
- Popular shows the most popular blog posts.
- Products by ID shows the products related to their IDs.
- Category shows products based on selected categories.
- Abandoned cart products shows the products that shoppers have left in their carts without checking out. You can also add your website’s cart link or any custom page when they click on those products.
- Discounted products shows the products that are discounted (Priority is given to those related to past purchases).
- Cross-sells shows the products that are marked as cross-sell (based on previous purchases).
- Up sells shows the products that are marked as up sell (based on previous purchases).
- Quantity sets the number of products to display in the product loop (up to 6).
- Columns defines the number of columns (up to 3).
- Image, Description, Price show/hide the image, description and price of products.
- Title, Description, Price, Button sections customize the formatting and appearance of the title, description, price and View Product button.
Note: Related products are dynamic content, meaning they appear differently for each individual user. Additionally, the content of this element appears as empty for users who have not purchased any products.
Note: If your products don’t have cross-sell or upsell and you choose to display them in the product loop, then Growmatik will display related products instead.
Button element
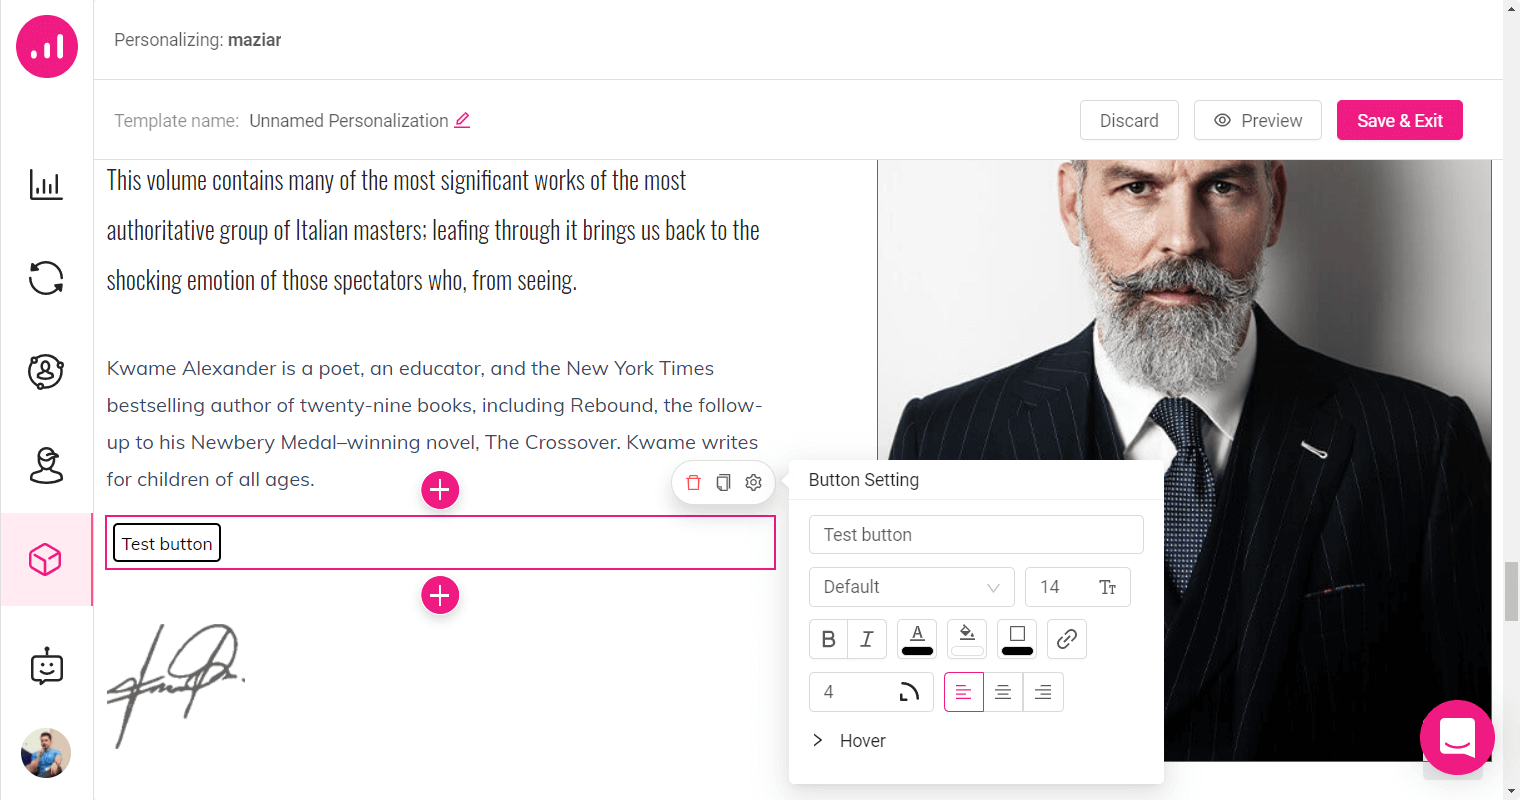
Use the Button element to insert a button with a custom link on your pages. The following options are available for further customization of the Button element:
- The label
- The label’s font
- The font size
- Use and controls to apply bold or italic style.
- Use the color pickers to change the text color, background color and border color of the button. These options are customizable for the hover style as well.
- Click on the link icon to add a hyperlink to the button.
- Use the alignment options to align the button left, center or right.
Image element

Use the Image element to add an image to your pages.
Click on the Replace Image button to select an image from the media library.
Video element

Use the Video element to insert a video from YouTube or Vimeo on your page. Enter the video URL in the text field and click on the Add button to insert the video.
Social element

Use the Social element to display social icons on your page.
- Enter the URL of your social media accounts.
- Click on the
 and icons to show/hide each network.
 and
and Duplicate the existing element
1. Select the element you want to duplicate and click on the  icon.
icon.

2. Once you click on that icon, an exact copy of that element will be made below the first element.

Preview your personalization
Once you’ve finished your website content customization, you can click on the Preview button to check your page.

Saving your personalization
Once you’re done with your personalization, click on the Save & Exit button, which will take you back to the main page of the Website Personalizer tool where your personalizations are listed.

Editing/removing/renaming your personalization
From the Website Personalizer tool’s main page, hover your cursor over your personalization’s thumbnail. By clicking on the  icon, you will be directed to the content personalizer page to make changes and edits.

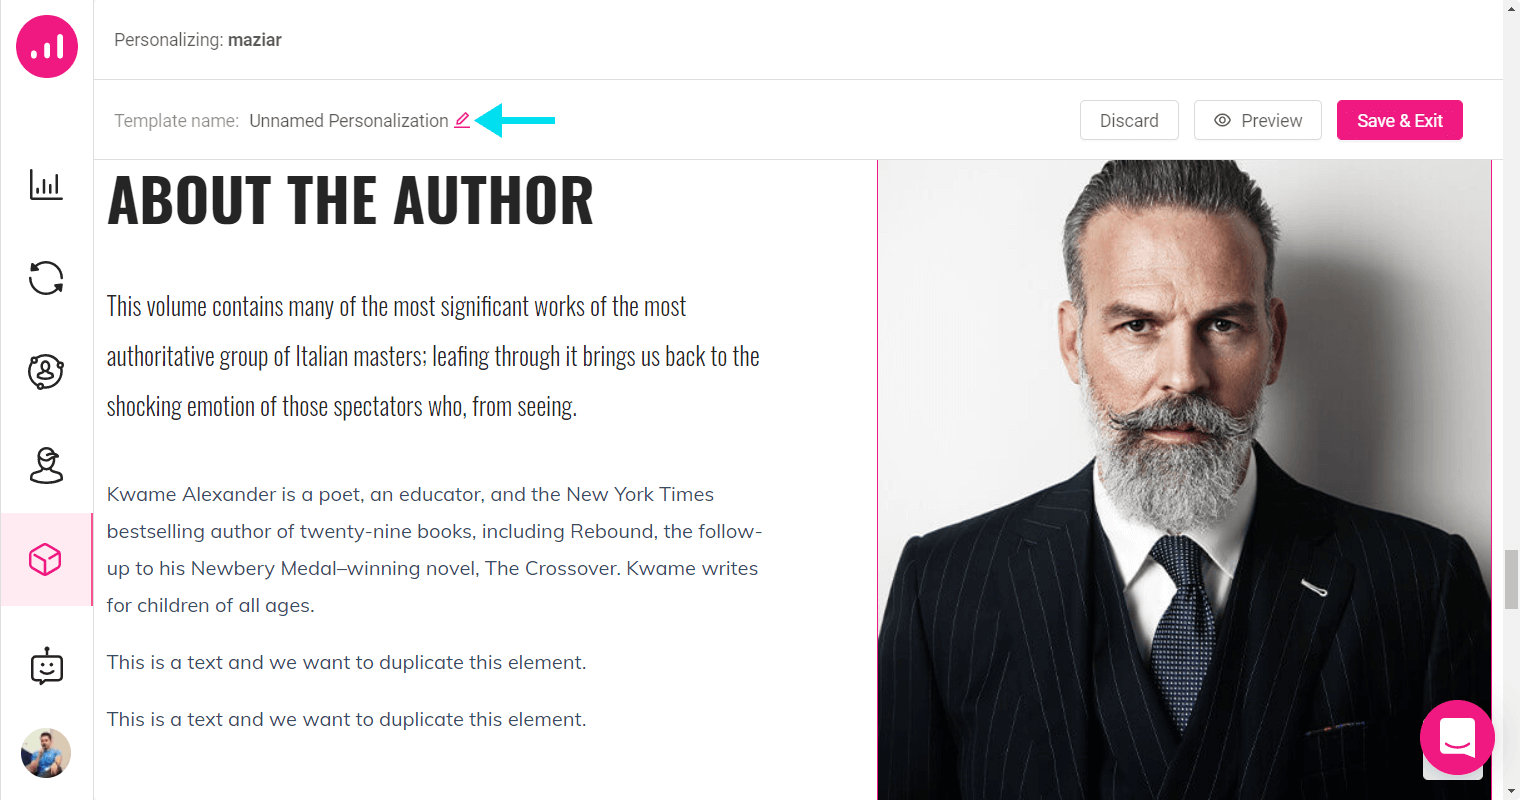
In order to rename a personalization, click on the ![]() icon. Then, once in the content personalizer page, enter the new personalization name in the template name field in the upper left section.
icon. Then, once in the content personalizer page, enter the new personalization name in the template name field in the upper left section.
In order to remove a personalization, click on the  icon, then select remove from the drop down menu.

Automating your personalization
1. From the left sidebar, go to Workshop > Personalizations and find the personalization you want to create a rule for.
2. Click on the ![]() icon, then choose Automate and select an audience type.
icon, then choose Automate and select an audience type.

3. Add a condition.

4. Click on the Create Rule button.

Note: You can also create a personalization rule with Growmatik automations.
Note: It isn’t possible to create multiple rules with one personalization, as each personalization can only be connected to a single rule.
Locating your personalization in the automation dashboard
By looking at your personalization thumbnails in the Personalizations page, you can find out which ones are attached to an automation rule. Any personalization that has ![]() on its thumbnail is linked to an automation rule.
on its thumbnail is linked to an automation rule.

To locate a personalization that is assigned to a rule in the Automations page:
1. Go to Workshop > Personalizations on the left sidebar and hover over the personalization you want to locate. Click on the  icon and select Locate in Automations from the menu.

2. You’ll be taken to the Automations page, where the rule associated with your personalization is highlighted.
