Summary
In this article, you’ll learn how to use the Unsubscribe user as an action. When you take this action, users will be unsubscribed based on the conditions you specify. The users that are marked as unsubscribed will no longer receive emails sent from Growmatik. It is important to know that this action cannot be undone and that you cannot change the user’s status once they are unsubscribed.
Defining Unsubscribe User as an Action
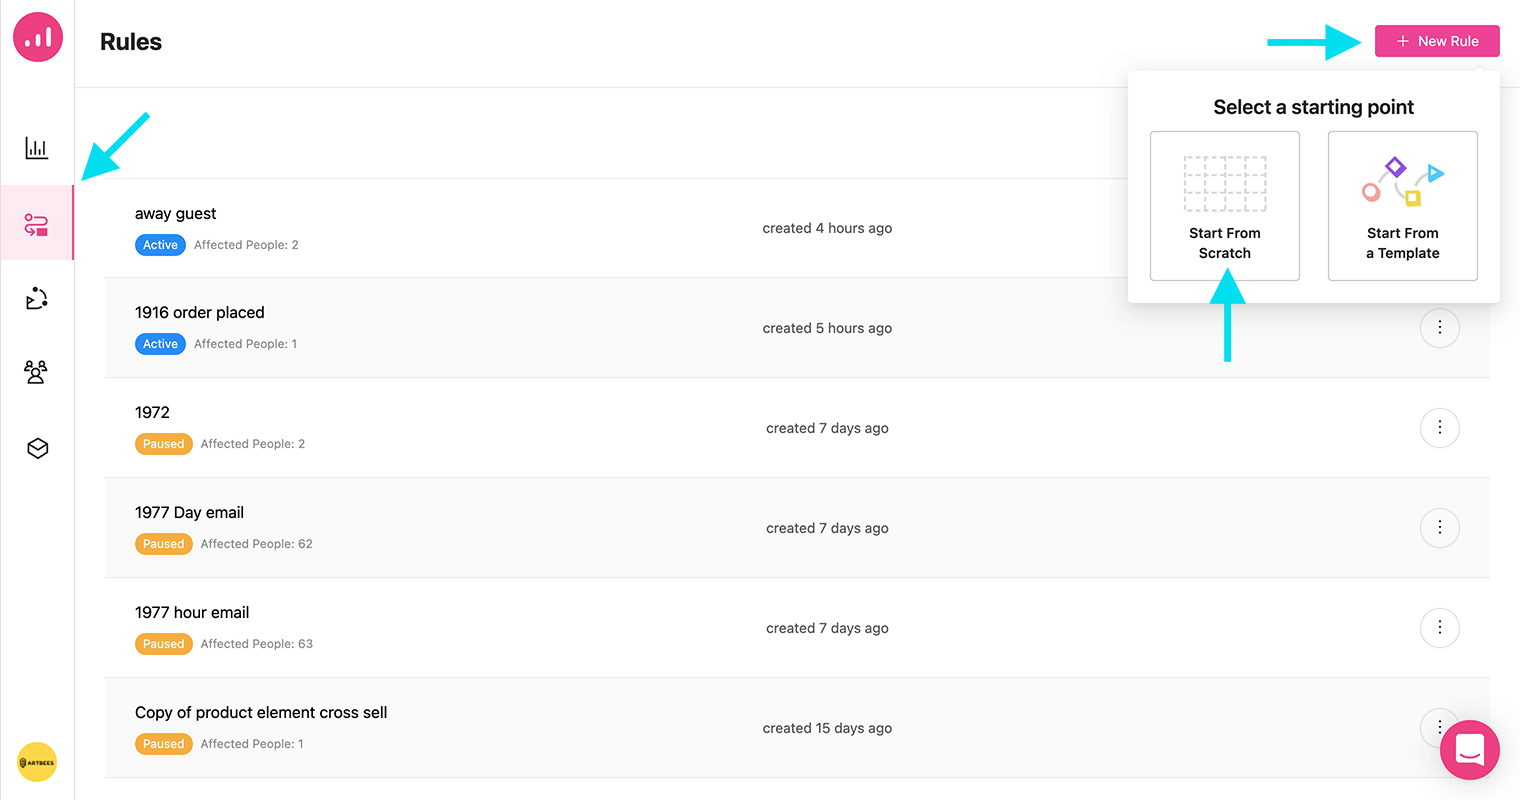
1. From the Growmatik Automations page, select the + New Rule button and then Start From Scratch.
2. Provide a condition for the users who are going to be unsubscribed from your emails. For example, choose A tag is applied as the Event and set your specific tag. Note: If you want to target your whole audience, leave the Audience section unmodified. Otherwise, select the audience using the Edit Audience button.

3. From the right side drop-down menu, select Unsubscribe user as the action.

4. Finally, click on the Save Rule button and make sure to toggle the rule from Paused to Active using the option on the upper right of the page. Note: As soon as you make it active, the users that match the specified condition will be unsubscribed from your emails and it can not be undone.

Check Which Users Are Considered Unsubscribed
In order to determine who is no longer receiving your emails and is marked as unsubscribed:
1. On the People section, open All Contacts page and from the drop-down list search for Email Subscription Status.
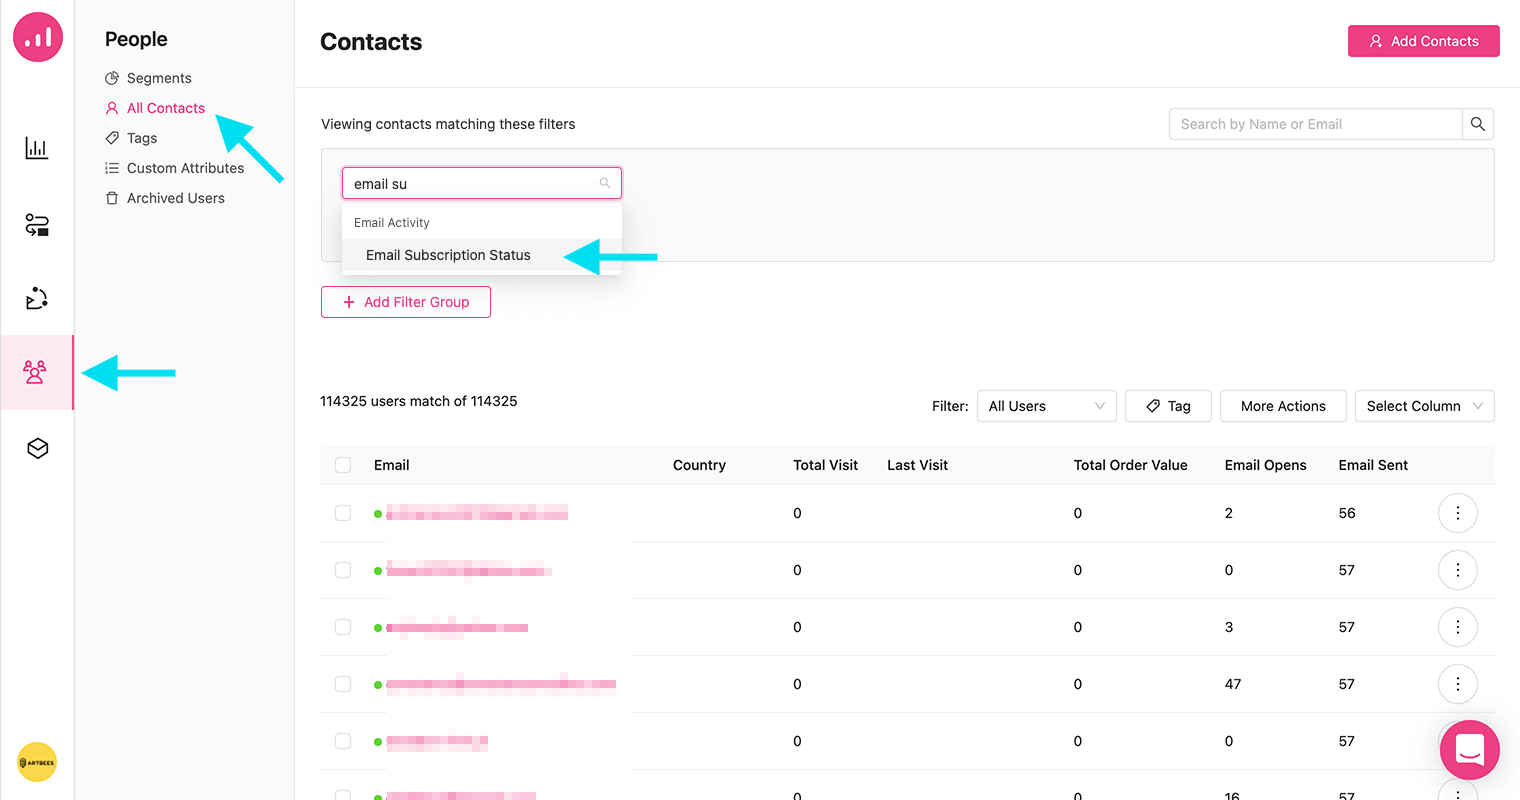
2. Choose the status Unsubscribed from the next drop-down menu. By doing this, you will see the list of contacts who have unsubscribed from your emails.

Note: All Growmatik emails include an unsubscribe link in the footer that users can click to stop receiving emails from you.