Summary:
In this article, you’ll learn how to use the Growmatik Send Email action.
We’ll cover the following topics:
What is Send Email?
You can set Send Email as an action, which means that an email will be sent to a user when the condition of the rule is met.
Defining Send Email as an action
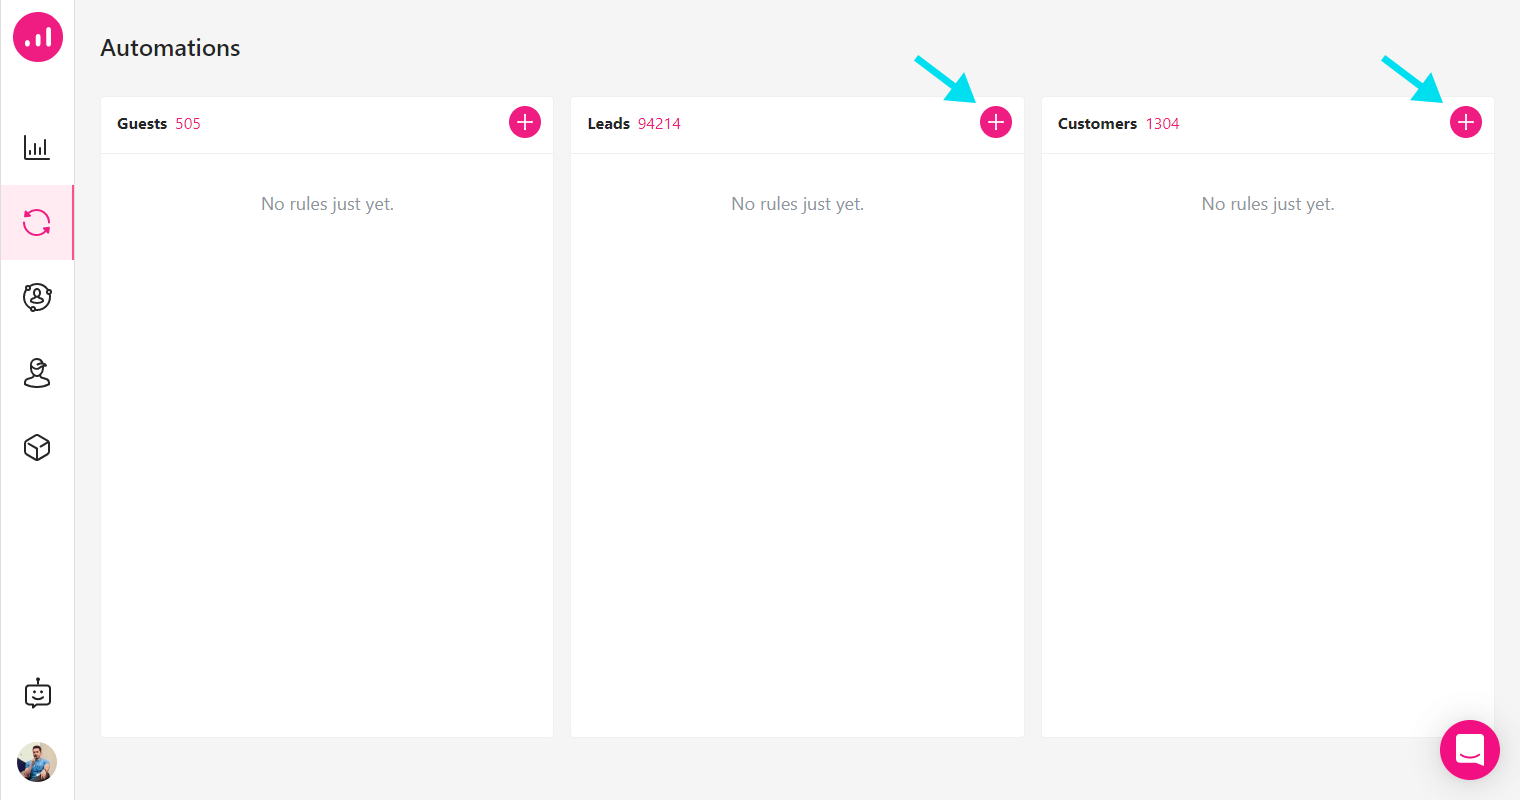
1. In the Automations page, click on the ![]() button of Leads or Customers column to create a rule.
button of Leads or Customers column to create a rule.
2. Set a condition.

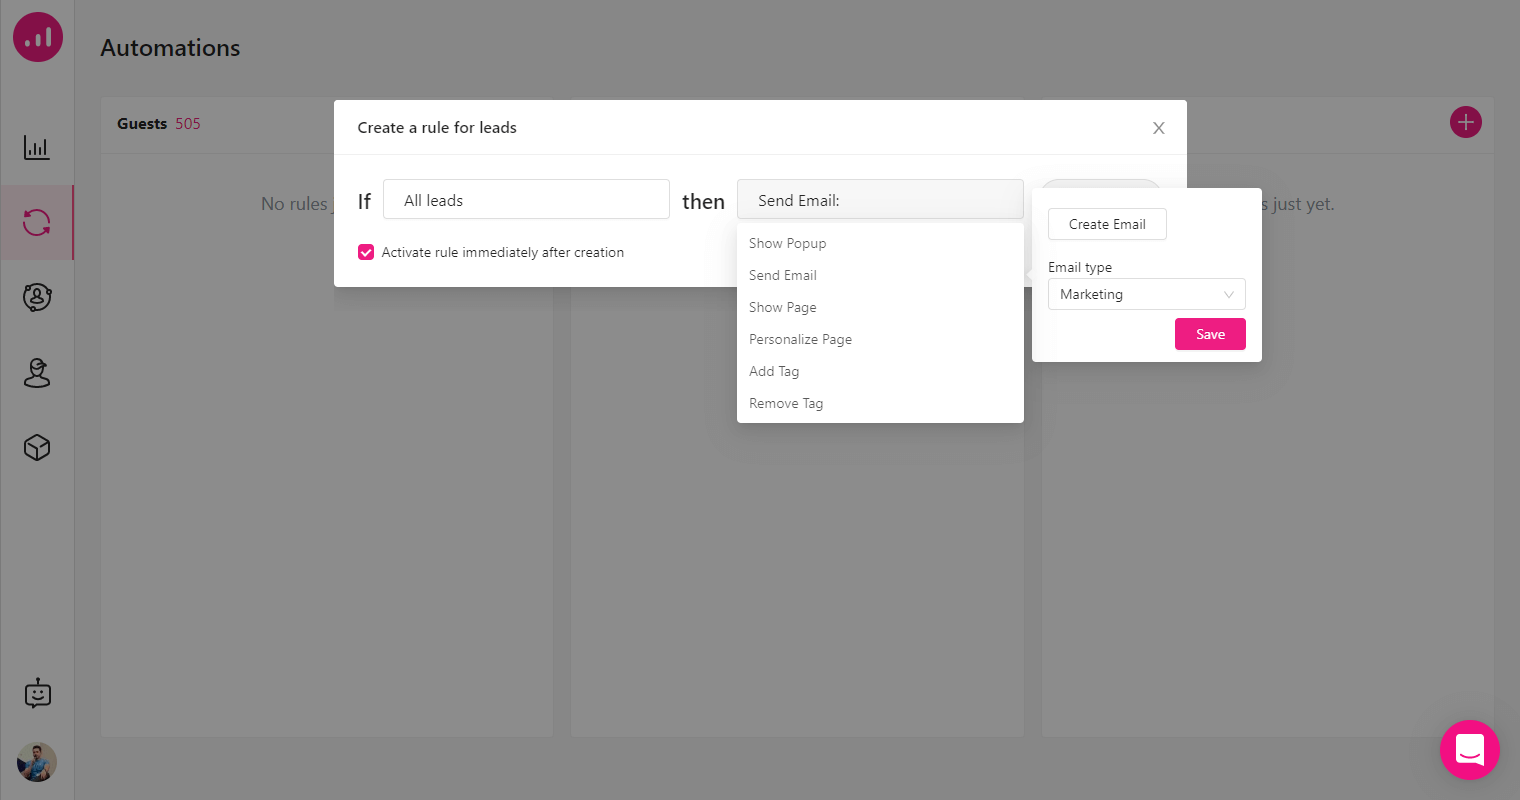
3. Click Set an Action, select Send Email action, then choose your Email type and click on Create Email.

4. A new dialogue will open that includes all the readymade email templates that are available for different purposes. Explore the templates in different categories by clicking on them to see a preview. Then, select a template, give it a name and click on the Customize button.

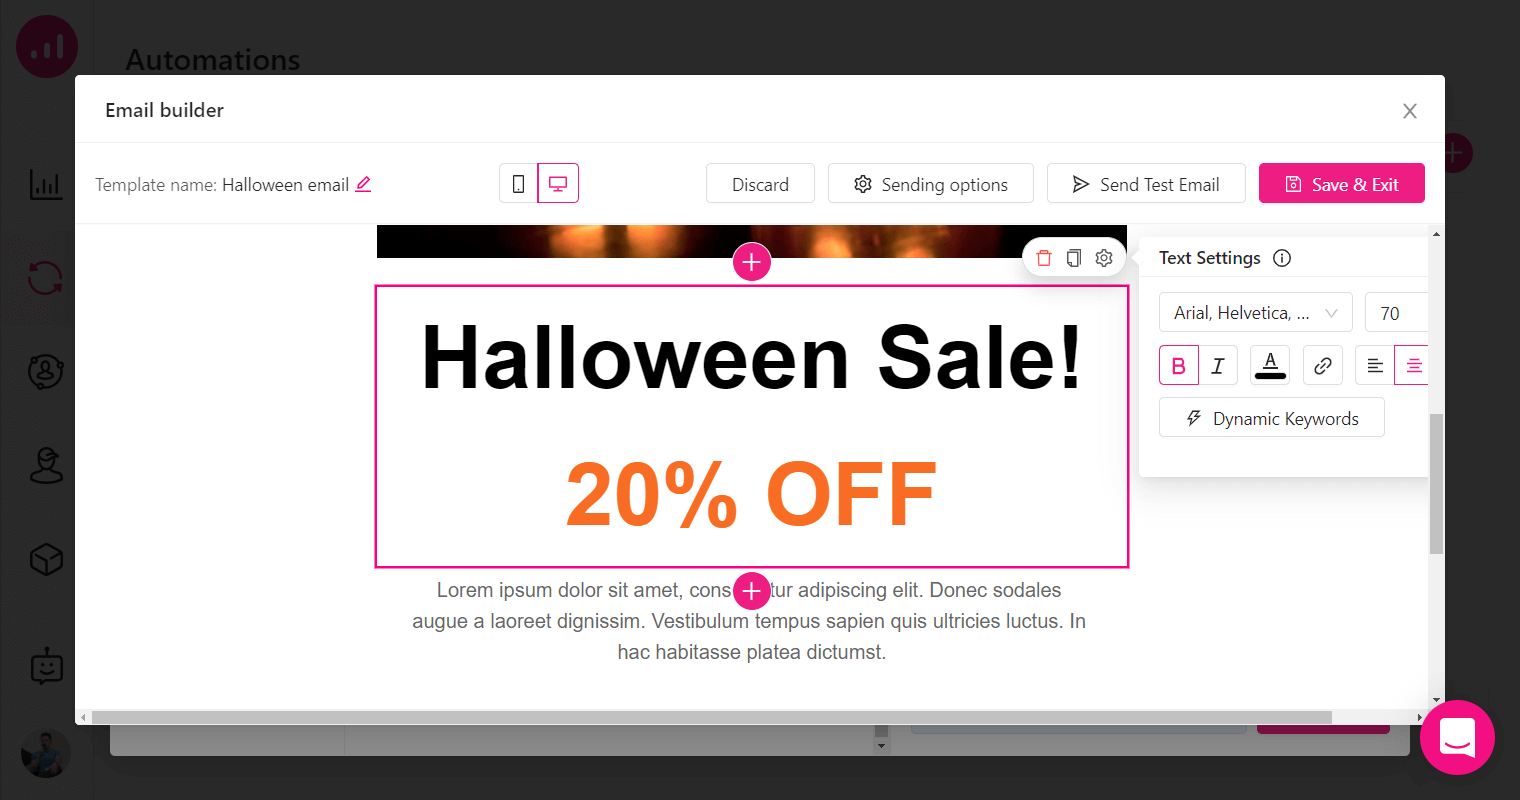
5. You’ll be taken to the Email Builder environment to customize your email however you like. Once you’re done customizing the template, click on the Save & Exit button.
6. In the sending option dialogue, you can choose the sender and reply-to parameters of the created emails (with Growmatik’s white labeling emails you can replace default sender and reply-to email settings with your own custom email address). Also, you can set the email subject using dynamic keywords.

7. You’ll see the rule creation dialog where the condition and the action are set. Click on the Create Rule button to add the email rule.

Note: If the option to Activate rule immediately after creation is checked, the targeted users will receive the email shortly.

Note: Users who are not in the column with the email rule will receive the email once they convert to that column’s user type. For example, if you have set a rule for all leads to receive an email, any Guests who register on your website and convert to a Lead will receive the email after registration as expected.
Growmatik Email Types
There are two types of emails in Growmatik to choose as an action: Transactional and Marketing.
Recipients have to opt in to receive marketing emails, which include emails such as notifications for new products. It’s recommended that you provide users with the option to opt out of this type of email whenever they want.
Transactional emails are the result of a specific action that the recipient has made while interacting with your business. For example, the welcome email you send your lead after they subscribe to your blog or the confirmation email you send to your customer after they place an order both count as transactional emails.
When a user has just registered with Growmatik, the transactional email type is not active so the user cannot see or choose it as an email type. In order to send transactional emails, the user’s account should meet two conditions:
- The account shouldn’t be marked as bad reputed.
(Note: If a user’s failed emails exceed 5% and complaint emails exceed 0.1% of total emails, the user’s account will be marked as a bad reputed in Growmatik. In this case, the user will be blocked from email services for 24 hours.) - Users should have sent at least 5000 marketing emails from that account in one day.