Summary
In this article you will learn how to integrate WordPress websites with Growmatik.
How to Integrate WordPress websites
Once your account has been activated, you will be redirected to the onboarding page. To connect your store and integrate WordPress websites with Growmatik, follow these steps:
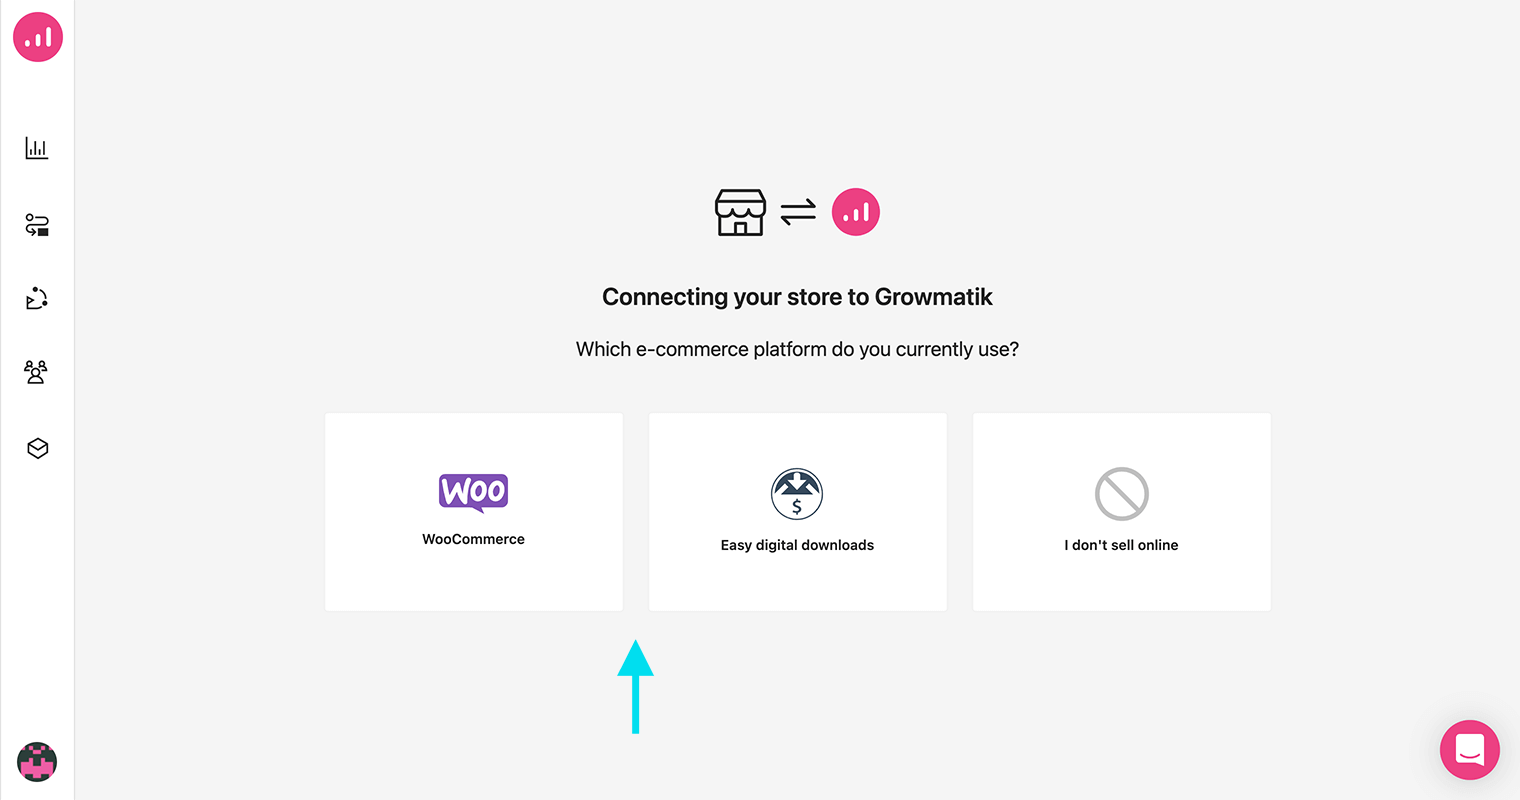
1. Click the Connect button from your dashboard.

2. Select your ecommerce platform.
3. Integration instructions will be shown to help you integrate with Growmatik.
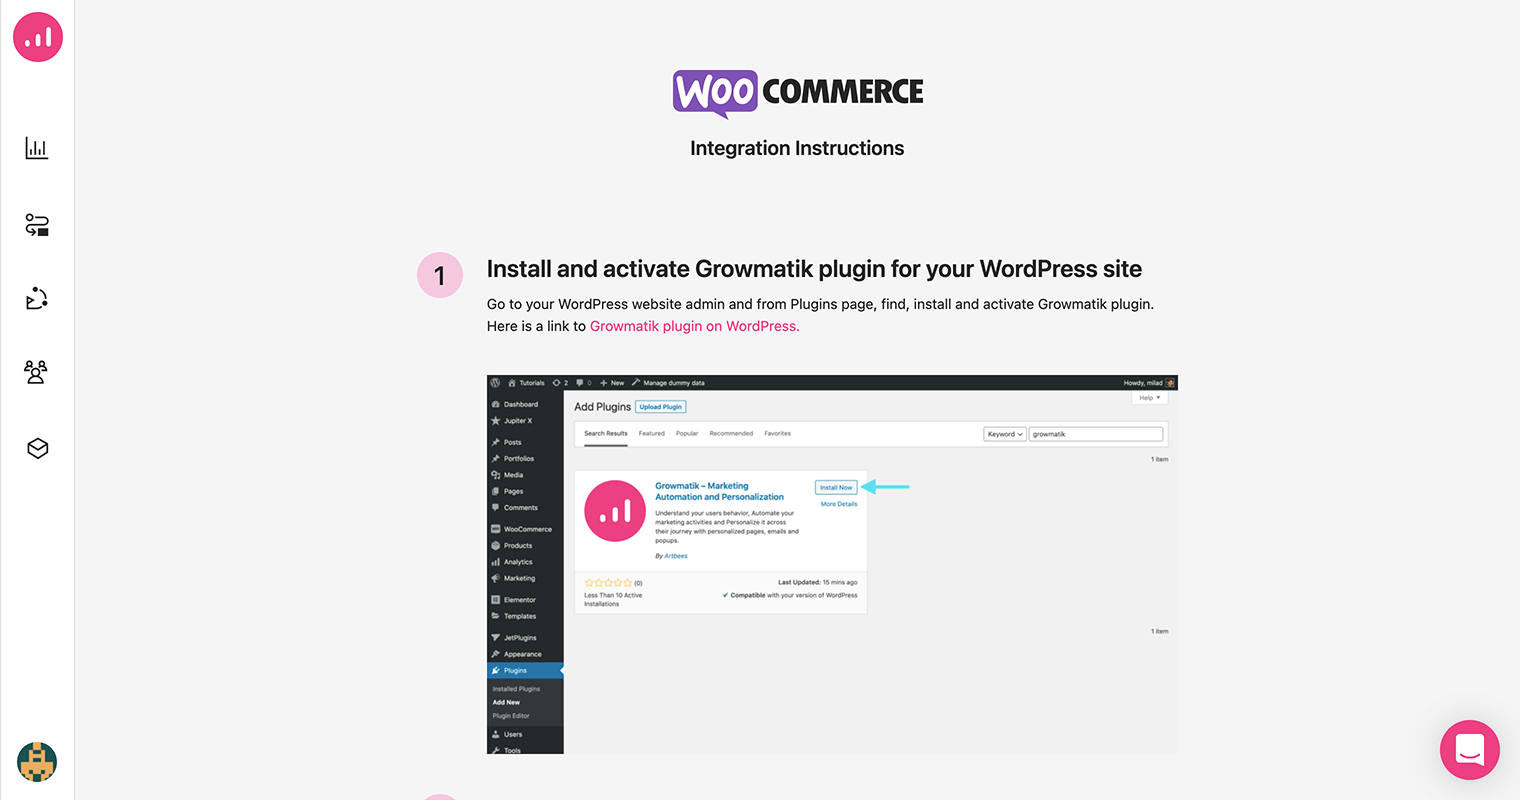
4. To proceed, you need to log in with your WordPress admin information, then install and activate the Growmatik plugin.

5. Once you activate the plugin, you should be able to see the Growmatik Settings page on your WordPress dashboard > Settings > Growmatik. Click on the Connect & Activate button.

6. Select the Authorize Access button.

7. You’ll then see the Integration completed message and the status will switch to Connected. Click Continue to Growmatik.

8. Finally, you will see that your store is connected and successfully integrated with Growmatik.

Note: If you encountered any issues while integrating WordPress websites with Growmatik, you can check out the Growmatik integration troubleshooting guidelines. Please don’t hesitate to contact us with any questions or concerns via the chat box at the bottom right corner.
